


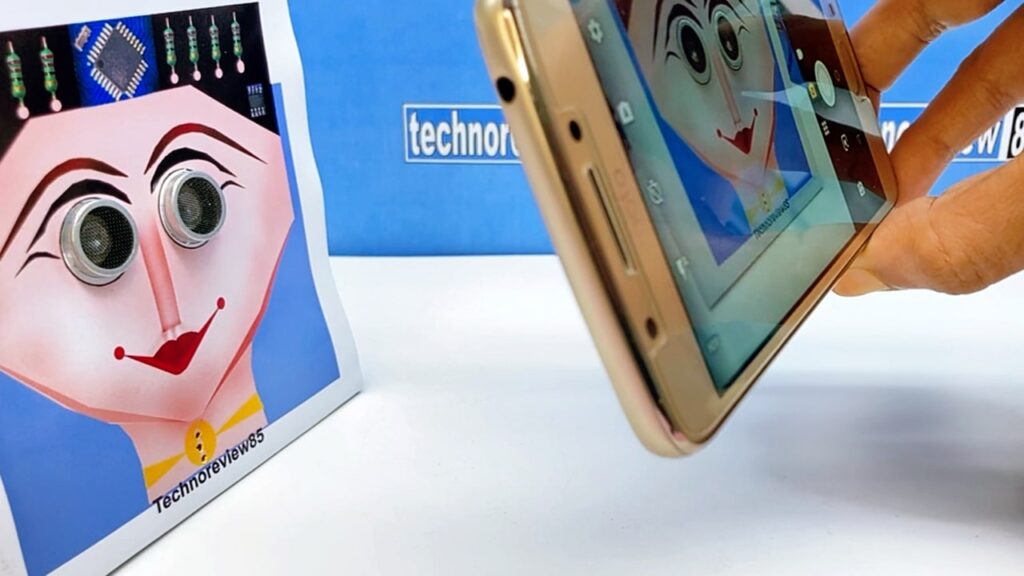
In this article, I am going to describe to you a very simple Arduino talking robot. It can detect any object near it & if you put your hand in front of this robot, it will play the pre-recorded sound.
How it works
A pre-recorded voice or any other sound is stored on the ISD 1820 voice recorder module. If HC-Sr 04 ultrasonic sensor detects any object in front of it (within 7 inches), then the Arduino digital pin 11 goes high, which is connected to the ISD 1820 module PlayE pin so the 1820 module plays the pre-recorded voice.
You need to make
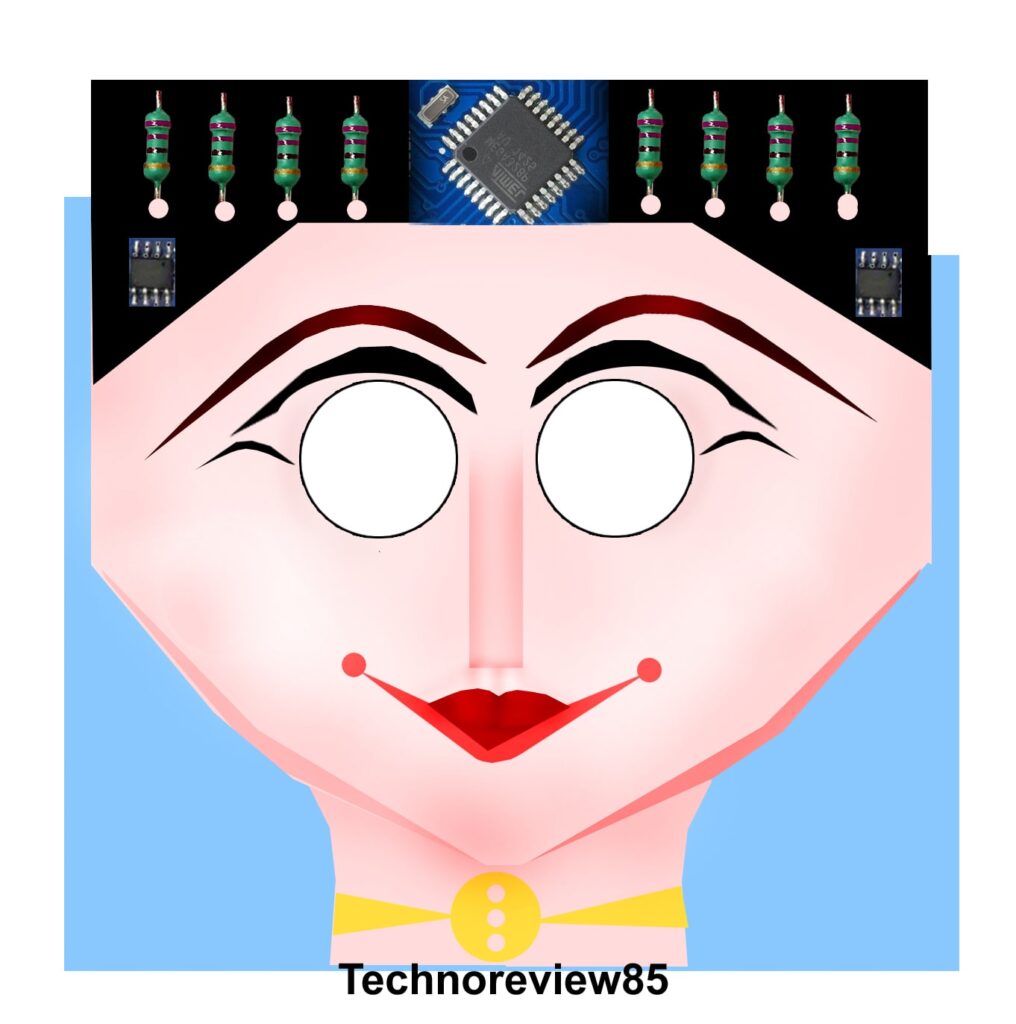
- A printed robot face you can download from here
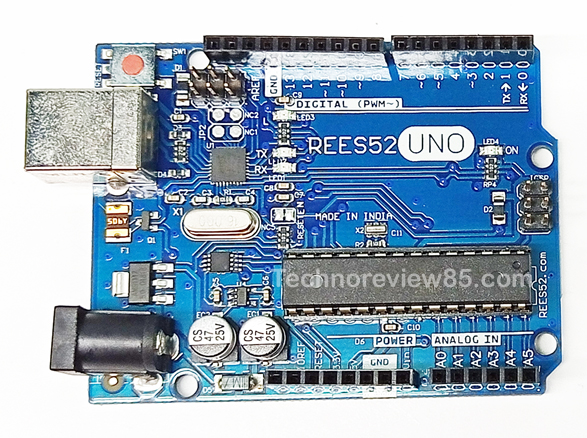
- Arduino UNO
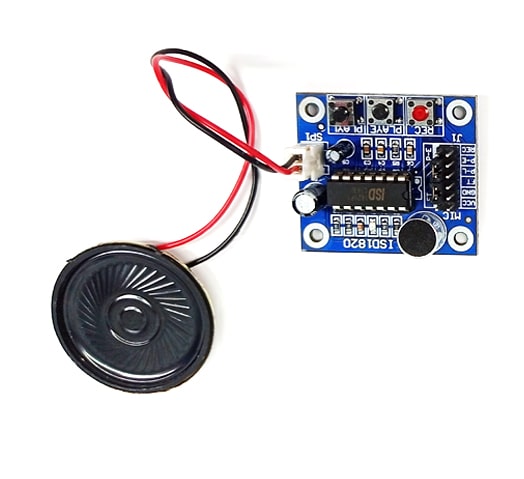
- ISD 1820 voice recorder module with speaker
- Jumper wire
- HC SR 04 ultrasonic module
- Some cardboard
The making of talking robot
Print the robot face & install HC Sr 04 ultrasonic sensor on the Robot eye. the video tutorial describes detail about it. record any voice which you want to listen from the robot. The Audio will be recorded on ISD 1820. you can record any sound up to 10seconds
More about ISD 1820 Voice recorder
Connection
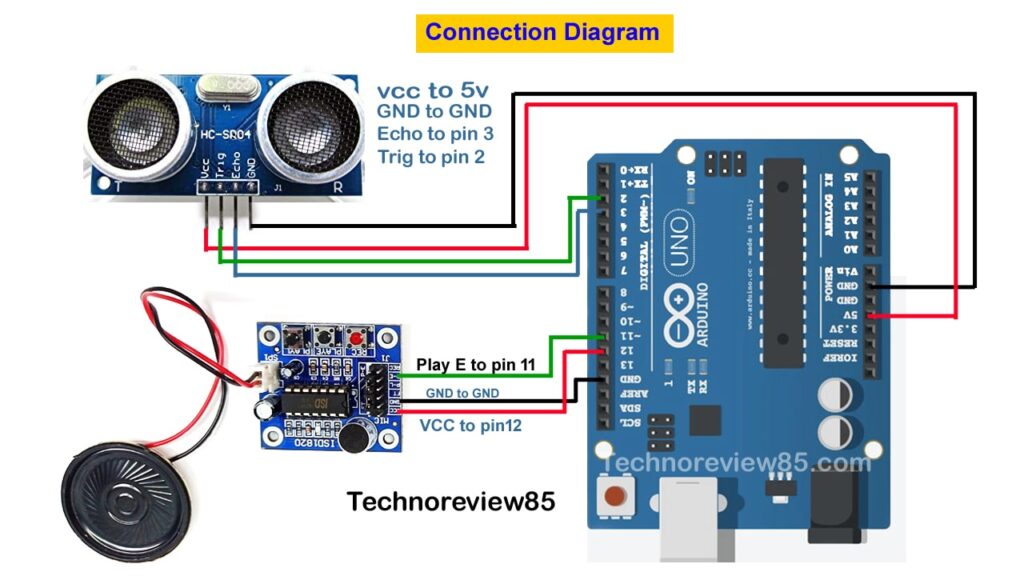
ISD voice recorder module VCC connect to Arduino D12
ISD voice recorder module GND connect to Arduino GND
ISD voice recorder module PLAY-E connect to Arduino D 11
HC SR 04 ultrasonic module VCC connect to Arduino 5v
HC SR 04 ultrasonic module GND connect to Arduino GND
HC SR 04 ultrasonic module Trig pin connect to Arduino D2
HC SR 04 ultrasonic module Echo pin connect to Arduino D3
Arduino code for talking Robot
//Ultasonic Sensor//Pins connected to the ultrasonic sensor#define trigPin 2#define echoPin 3//LED pins#define ledGreen 9#define ledRed 8//Pin connected to the piezo buzzer#define alarm 11#define vcc 12int range = 5;//range in inchesvoid setup() { // initialize serial communication: Serial.begin(9600); //initialize the sensor pins pinMode(trigPin, OUTPUT); pinMode(echoPin, INPUT); pinMode(vcc, OUTPUT); //initialize LED pins pinMode(ledGreen, OUTPUT); pinMode(ledRed, OUTPUT); //set LEDs digitalWrite(ledGreen, HIGH); digitalWrite(ledRed, LOW); digitalWrite(vcc,HIGH); }void loop(){ // establish variables for duration of the ping, // and the distance result in inches and centimeters: long duration, inches, cm; // The PING))) is triggered by a HIGH pulse of 2 or more microseconds. // Give a short LOW pulse beforehand to ensure a clean HIGH pulse: digitalWrite(trigPin, LOW); delayMicroseconds(2); digitalWrite(trigPin, HIGH); delayMicroseconds(5); digitalWrite(trigPin, LOW); // Take reading on echo pin duration = pulseIn(echoPin, HIGH); // convert the time into a distance inches = microsecondsToInches(duration); cm = microsecondsToCentimeters(duration); Serial.print(inches); Serial.print("in, "); Serial.print(cm); Serial.print("cm"); Serial.println(); if(inches < 7) { Serial.println("DANGER"); digitalWrite(ledGreen, LOW); digitalWrite(ledRed, HIGH); tone(alarm, 2000); delay(100); } else { Serial.println("GOOD"); digitalWrite(ledGreen, HIGH); digitalWrite(ledRed, LOW); noTone(alarm); delay(100); } delay(200);}long microsecondsToInches(long microseconds){ // According to Parallax's datasheet for the PING))), there are // 73.746 microseconds per inch (i.e. sound travels at 1130 feet per // second). This gives the distance travelled by the ping, outbound // and return, so we divide by 2 to get the distance of the obstacle. // See: http://www.parallax.com/dl/docs/prod/acc/28015-PING-v1.3.pdf return microseconds / 74 / 2;}long microsecondsToCentimeters(long microseconds){ // The speed of sound is 340 m/s or 29 microseconds per centimeter. // The ping travels out and back, so to find the distance of the // object we take half of the distance travelled. return microseconds / 29 / 2;}
No comments:
Post a Comment