


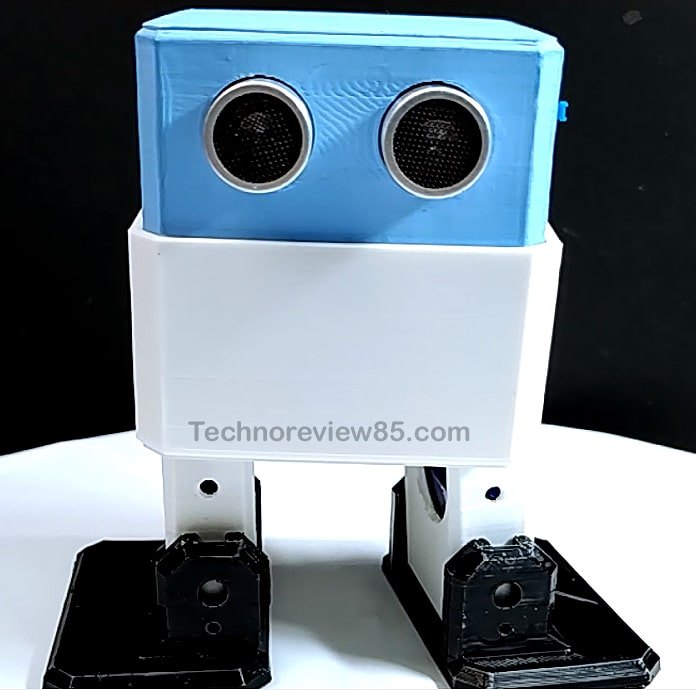
In this article, I am going to describe how you can make a Robot or humanoid robot using Arduino.
It is an otto robot. Otto is an open-source robotic program.
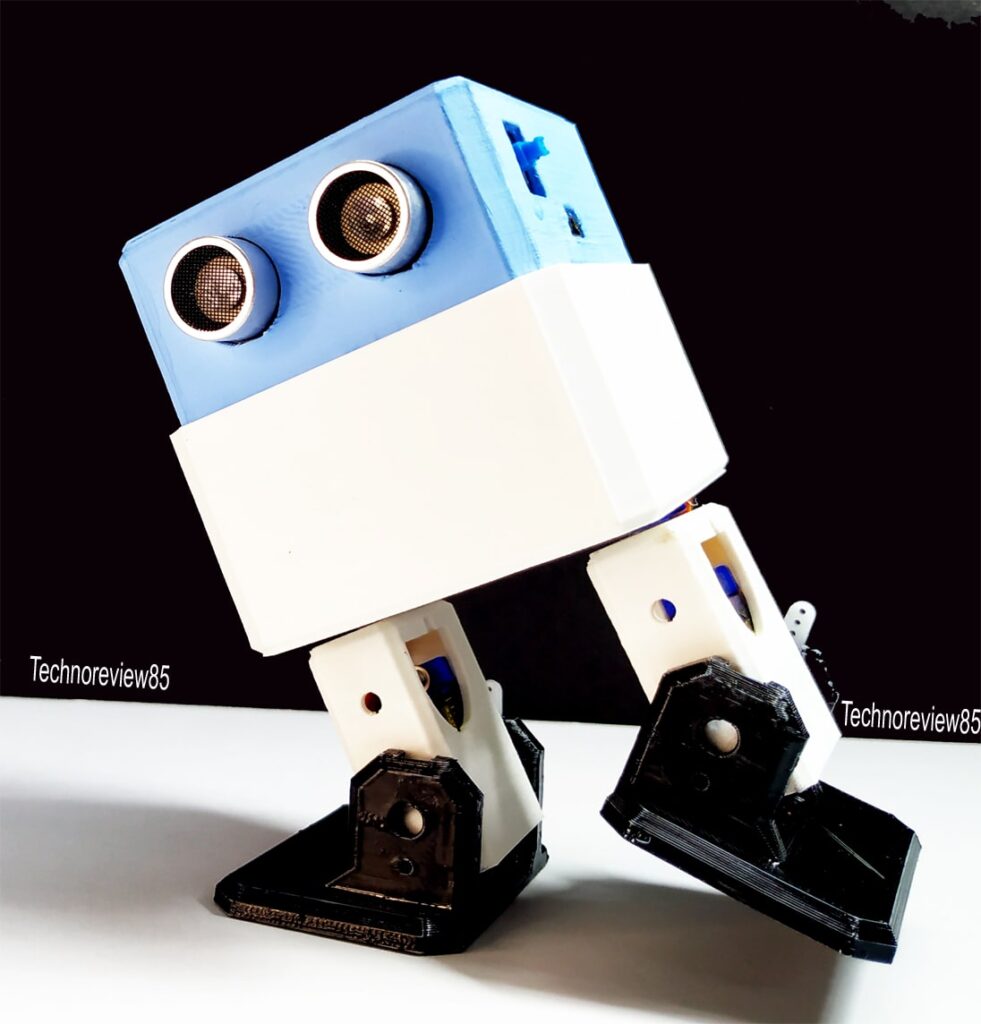
using it you can make your customized robot & it is very good for learning robotics movement, sensors & programming.
You Need to make Otto Robot
- Arduino nano
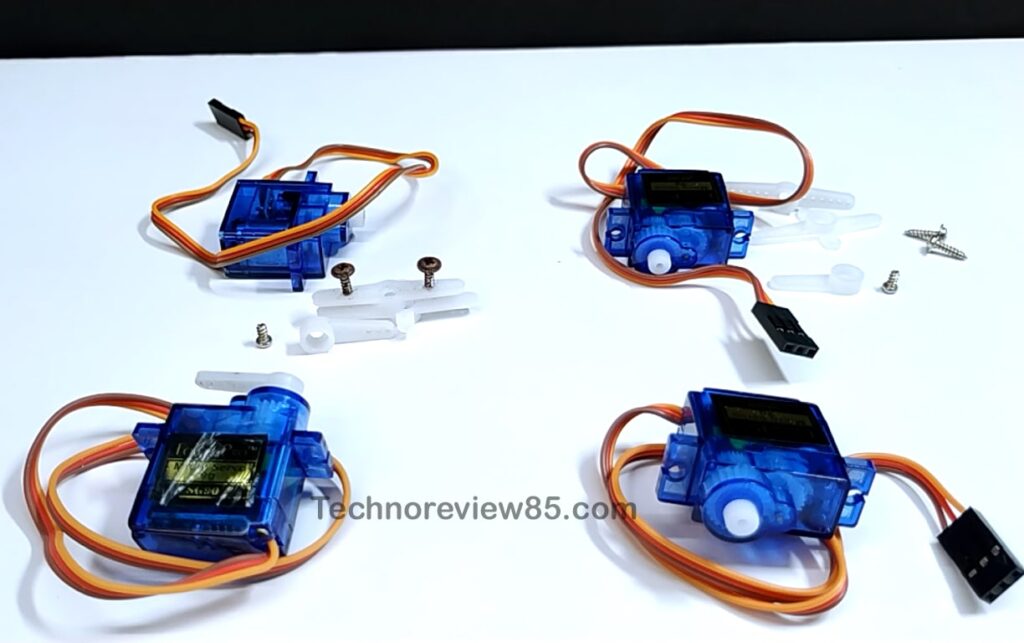
- 9g micro servo motor 4 pieces with all Screw & shafts
- Hc SR 04 ultrasonic sensor module
- 5-volt active Buzzer
- 4 pieces AA size rechargeable battery & battery holder
- Capacitor 220mfd & Ic 7805
- Male & female header pin
- Terminal block & push to the on-off switch
- Vero board
- Jumper wires
- 3d printed Otto robot parts
Download 3D .Stl file for 3D printing Otto

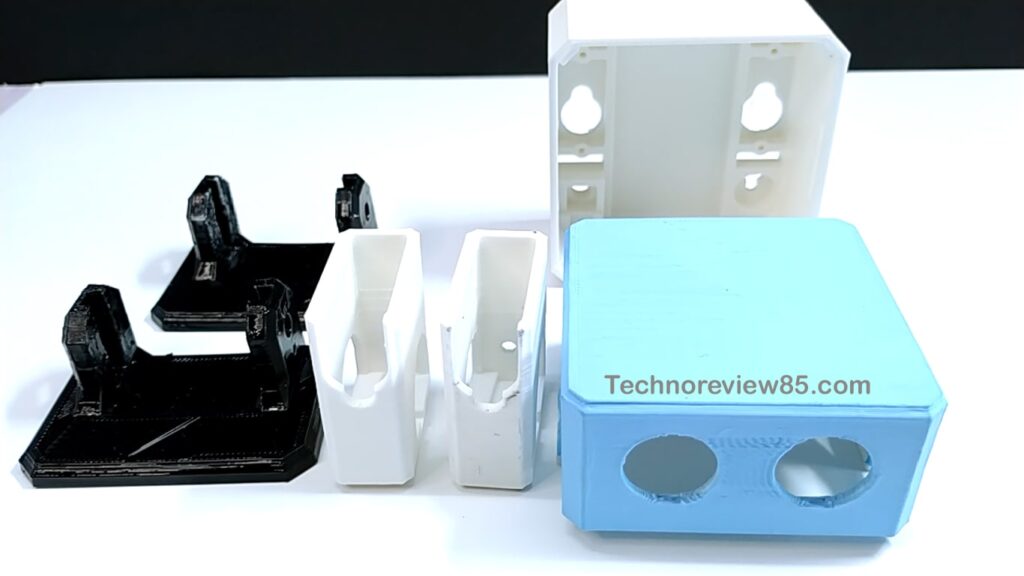
You can make these 3d printed parts if you have a 3d printer it is free for download
or you can buy these parts.
You can also buy a complete kit from ottodiy.com
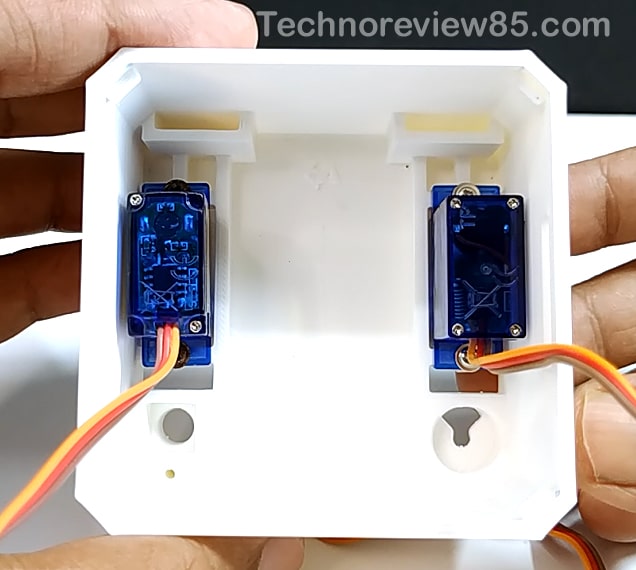
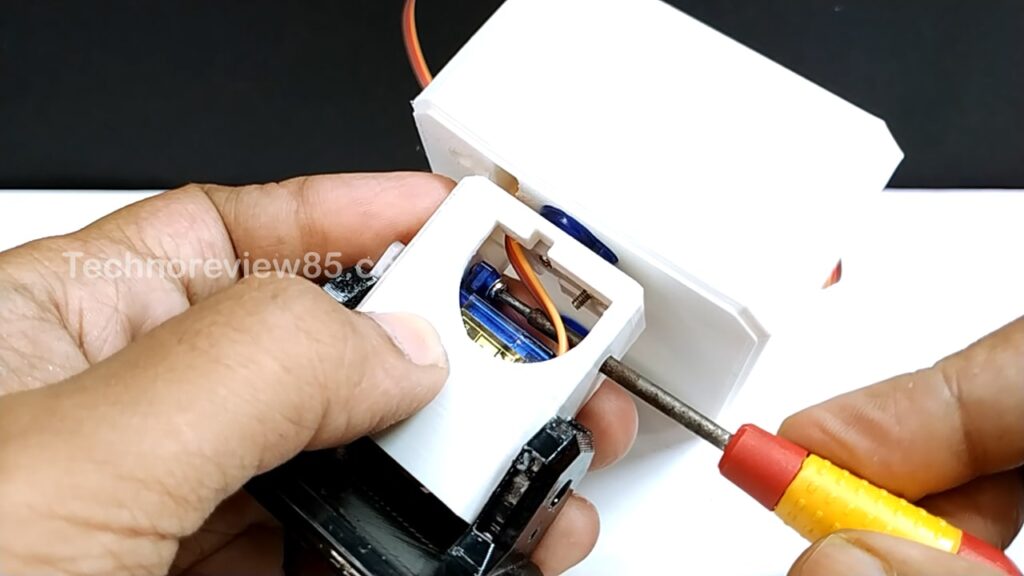
After 3D print is completed you have to insert 4 9G servo motor in Robot Leg & foot.
Otto Robot Electronic part
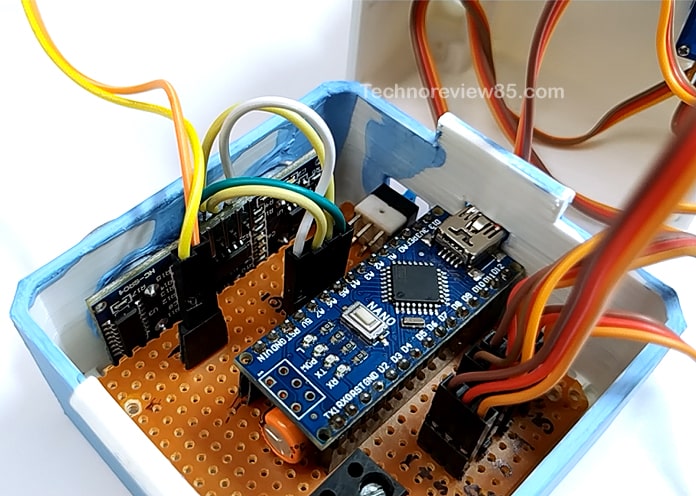
You can make the electronic part using
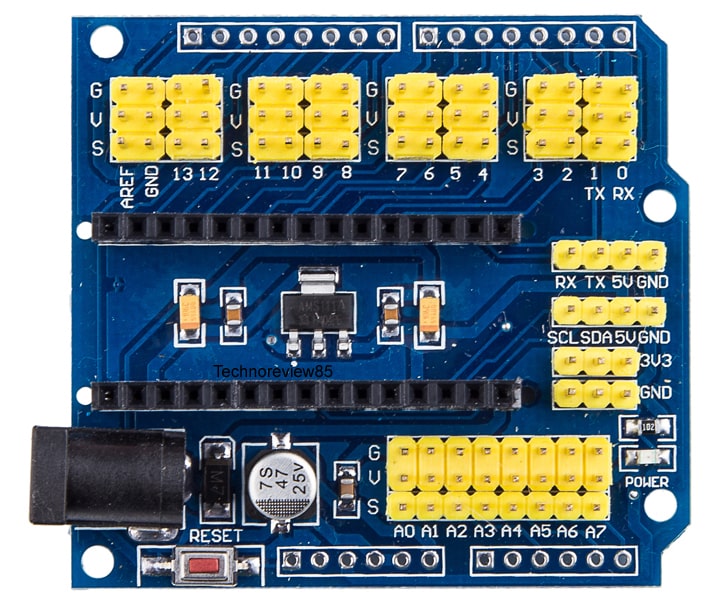
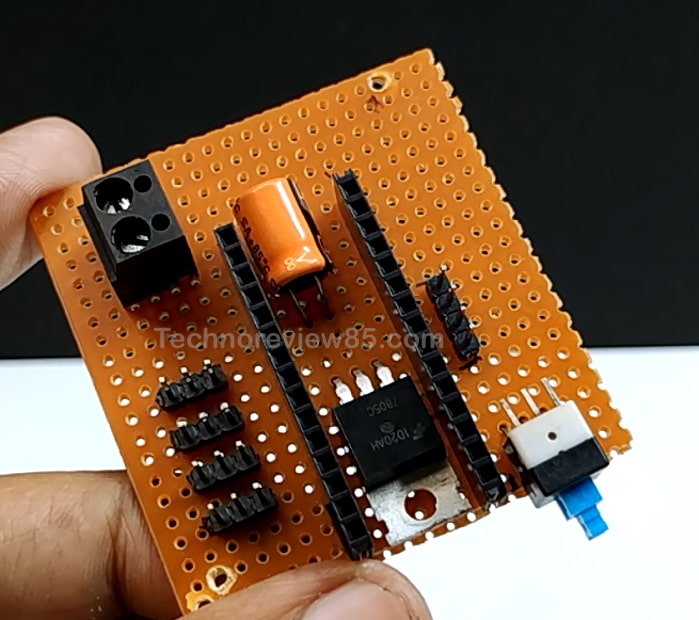
Arduino Nano IO shield but I am making a customized circuit on a Vero board.
Connection details
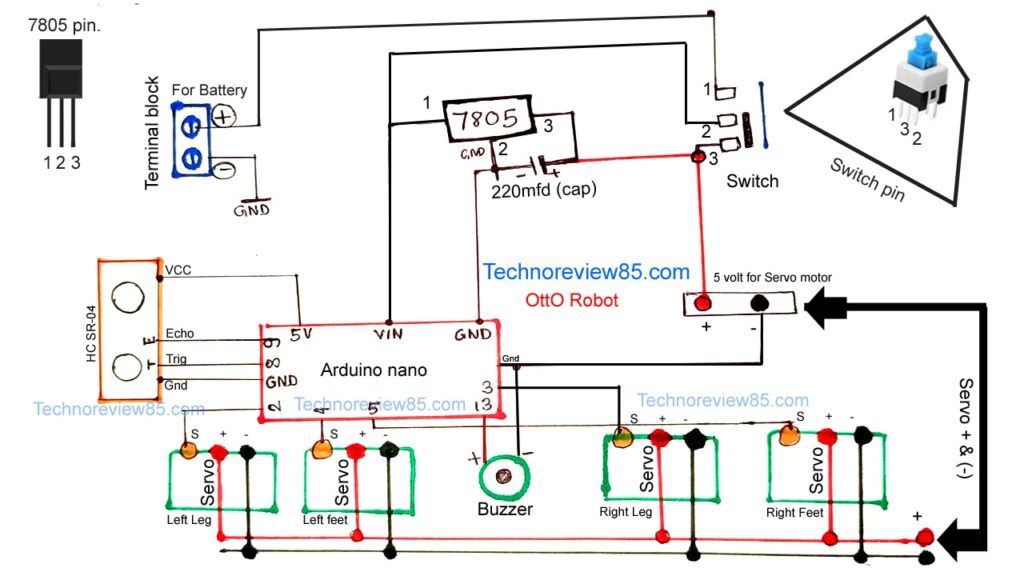
Left leg connect to Arduino pin – 2
Left foot connect to Arduino pin – 4
Right leg connect to Arduino pin – 3
Right foot connect to Arduino pin – 5
Ultrasonic sensor Trig pin to Arduino pin – 8
Ultrasonic sensor Echo pin to Arduino pin – 9
Buzzer + to Arduino pin – 13
For power, you can use 4 double A rechargeable battery or use a power bank on an Arduino nano mini USB port.
Otto robot programming
Download otto robot zip library from here
Then add the zip library to Arduino IDE. Go to file > Example >OttodiyLib
Here are some sample code for your robot. Chose a sample code and upload it to Arduino nano.
For better performance, you have to calibrate the robot.
For calibration go to file >Example >OttodiyLib>calibration> otto calibration serial.Upload this code & you can calibrate your robot using the serial monitor of Arduino ide.

No comments:
Post a Comment